
Why Creators Need a Smarter Way to Remove Text from Images#
If you’re a content creator, you’ve probably asked yourself how to remove text from image without losing quality. Whether it’s a timestamp on a client photo set, a logo on a product shot, or captions on a meme you’re reformatting for a thumbnail, removing text quickly and cleanly is essential to your workflow.
The good news: AI tools now make it easy for anyone—no advanced design skills required—to remove text from image and rebuild backgrounds convincingly. In this guide, you’ll learn step-by-step how to remove text from image using an AI editor, compare the best tools, choose the right method for your scenario, maintain image quality, and avoid common pitfalls.
This article prioritizes:
- Clear, actionable steps for how to remove text from image using AI
- Beginner-friendly online options (with a focus on Story321)
- Mobile and desktop alternatives
- Quality tips and background reconstruction techniques
- Legal and ethical considerations for watermark removal
- Troubleshooting for blurry or artifact-heavy results
- Specific use cases and batch-processing strategies
Quick Start: How to Remove Text from Image Online in 60 Seconds#
If you want the fastest path to how to remove text from image with AI, start here.
- Go to https://story321.com/image/image-to-image/
- Select or upload your image (JPG, PNG, WebP recommended)
- In the Prompt field, describe the unwanted text and background context (e.g., “Remove the white caption text at the bottom; reconstruct wood texture behind it”)
- Click Edit Image
- Watch the processing queue on the right under My Images
- Your new image will appear at the top of My Images. Click the thumbnail to view, download, or share
- If needed, switch models (e.g., nano banana) from the model selector to test different reconstruction styles
This is the simplest approach to how to remove text from image for creators who want clean, share-ready results—fast.
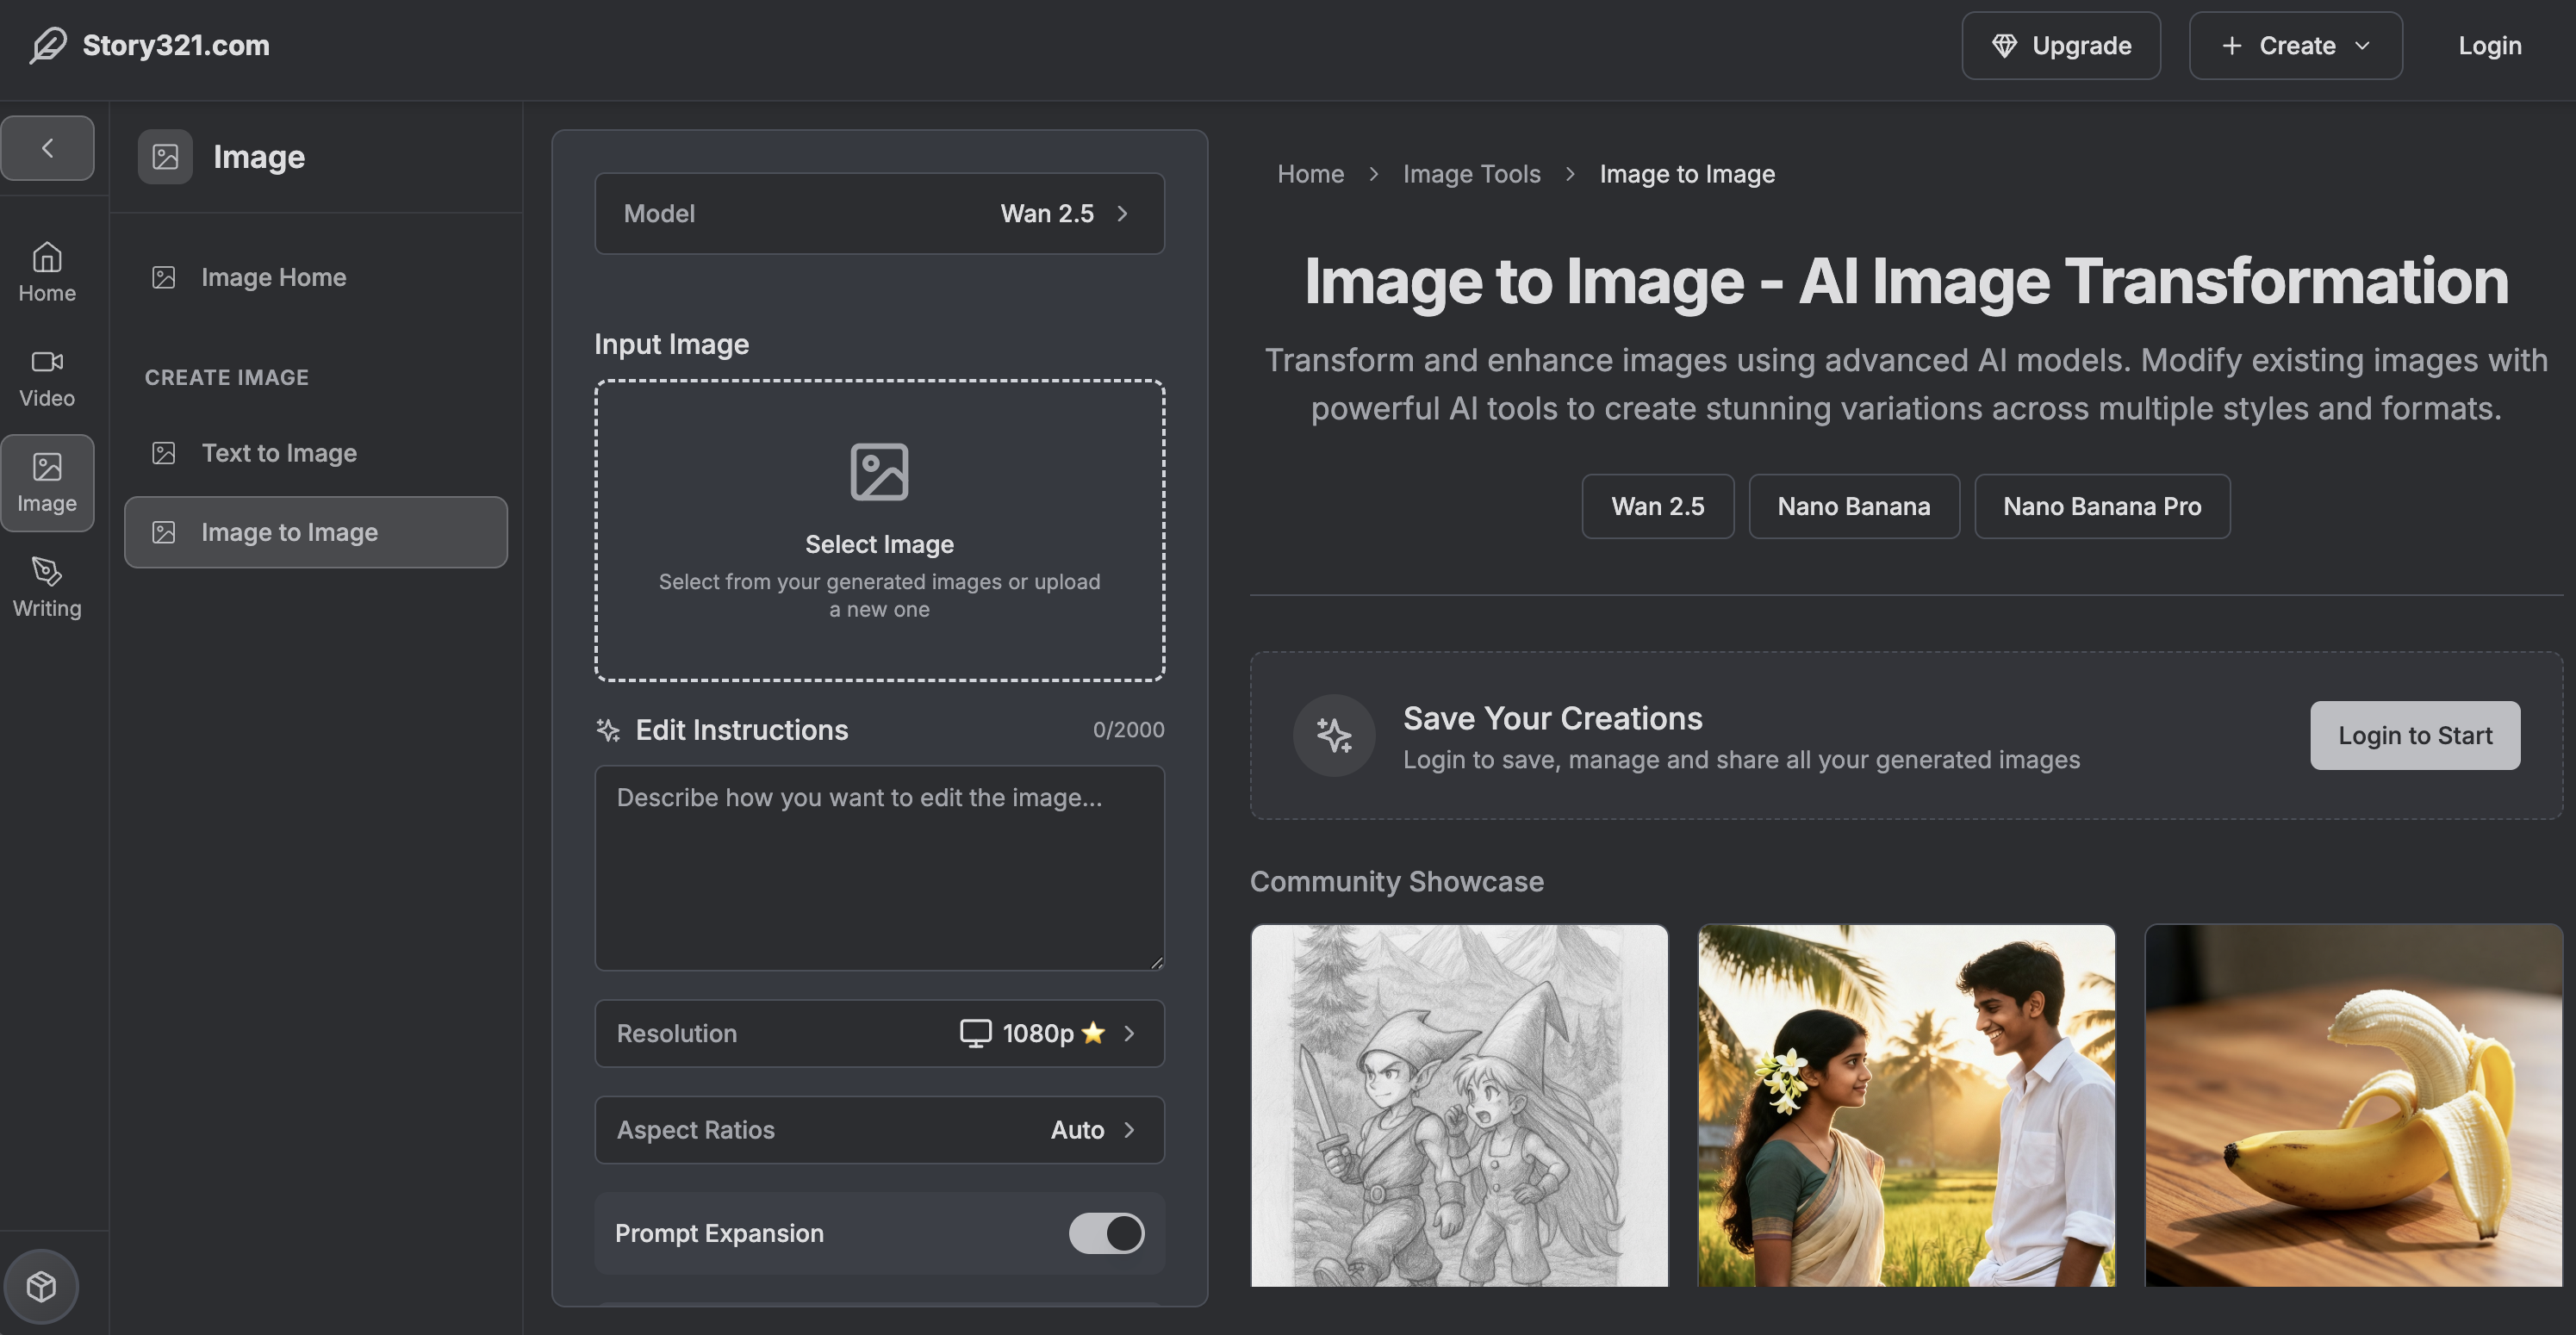
Step-by-Step: Remove Text from Image with Story321 (Image-to-Image)#
Here’s a detailed walkthrough to get professional results using Story321’s AI-based editor. This follows your specified workflow and expands with practical tips for creators.
- Go to https://story321.com/image/image-to-image/
- Select/upload an image
- Supported formats: JPG, PNG, WebP (for best results, use the highest-resolution version you have)
- Tip: If you have a HEIC file from iPhone, convert to PNG/JPG first
- Enter “prompt” to indicate the text you want to remove
- Be descriptive about location and background reconstruction:
- “Remove black watermark text in bottom-right; fill with ocean waves and foam”
- “Erase large white caption across the sky; keep smooth blue gradient and clouds”
- “Remove date stamp on the lower-left; restore concrete texture”
- Be descriptive about location and background reconstruction:
- Click Edit Image
- The AI will analyze the text area and synthesize new pixels to replace it seamlessly
- Wait for the generated result in the My Images list on the right
- You’ll see a progress indicator; processing time varies by image complexity
- After generation, your result appears as the first item in the My Images list on the right
- Click the image thumbnail to open a pop-up preview
- View, download, and share your image from the pop-up
- Compare versions and iterate if needed (try different prompts or models)
Pro tip: If the first pass doesn’t fully remove the text, refine your prompt with brief, specific guidance: “remove all white text,” “clean edges,” “reconstruct brick pattern,” “match lighting and perspective.” You can also switch to another model (e.g., nano banana) for different inpainting behavior that may better match your background.
Why this method works for how to remove text from image:
- It uses AI inpainting to rebuild surrounding textures
- It’s non-destructive—you can re-run edits without harming your original
- It requires no manual masking or complex Photoshop skills
- It’s fast and works right in the browser
When to Use Story321 vs. Other Tools#
Different scenarios call for different solutions. Here’s how to remove text from image depending on your use case:
- Small corner watermarks on simple backgrounds
- Use Story321 first; if the background is uniform (sky, wall, blurred bokeh), AI inpainting is often perfect in one pass
- Large captions across gradients or landscapes
- Story321 with a detailed prompt specifying the background (“restore the gradient sky and horizon line”) usually excels
- Text over complex patterns (brick walls, fabric, foliage)
- Try Story321; if artifacts persist, run a second pass, tweak the prompt, or test another model like nano banana
- Product images needing pixel-accurate cleanup
- Try Story321; for ultra-precise edges, follow up with manual retouch in desktop software
- Multiple images needing consistent processing
- Use Story321 and iterate your prompt; for heavy-volume batches, consider desktop workflows with actions (see batch section below)
How to Remove Text from Image on Mobile#
Mobile workflows matter for creators on the go. Here’s how to remove text from image using top mobile apps:
-
iOS
- TouchRetouch: Tap Object Removal/Quick Brush, paint over the text, and let the AI fill. Great for simple backgrounds. Formats: JPG, PNG.
- Pixelmator Photo: Use Repair tool; supports nondestructive edits.
- PicsArt: AI-powered Remove tool for fast edits plus stylistic options.
-
Android
- Snapseed: Healing tool for small texts or timestamps; best on uniform backgrounds.
- TouchRetouch: Same strengths as iOS version; excellent for consistent, quick results.
- PicsArt: Similar to iOS; handy for social-ready assets.
If you prefer a web-based solution on mobile, Story321 works in the browser. This is a convenient way to standardize how to remove text from image across devices.
How to Remove Text from Image on Desktop#
Desktop apps offer precision and control. Consider these options:
-
Adobe Photoshop
- Content-Aware Fill (quick), Remove Tool (AI), or Generative Fill for complex backgrounds
- Best for layered, nondestructive workflows and batch actions
- Formats: PSD, JPG, PNG, TIFF, WebP, more
-
Affinity Photo
- Inpainting Brush for quick removals; excellent one-time cost
- Formats: AFPHOTO, JPG, PNG, TIFF, PSD import
-
GIMP (free) + Resynthesizer plugin
- Content-aware fill via free plugin; more manual setup, solid results
- Formats: XCF, JPG, PNG, TIFF
-
Photopea (web, free)
- Similar workflow to Photoshop’s healing and clone tools, runs in-browser
- Formats: PSD, JPG, PNG, WebP
-
Teorex Inpaint / Cleanup.pictures
- Minimal UI, paint over text to remove
- Fast for simple cases
Use desktop when you need surgical control after an AI pass. Many creators use Story321 for the heavy lifting, then finish with a quick clone/heal pass in Photoshop.
AI vs. Manual Methods: Which Is Best for You?#
If your main goal is speed, consistency, and natural reconstruction, AI wins for how to remove text from image. Manual methods still matter for fine-tuning or when AI guesses incorrectly.
-
AI Inpainting (Story321, Generative Fill)
- Pros: Fast, realistic fills, handles complex textures, minimal skill needed
- Cons: May require a few passes for perfect edges
-
Clone/Heal/Patch (Photoshop, Affinity, GIMP)
- Pros: Total control, excellent for micro-corrections
- Cons: Slower, steeper learning curve, tedious for large area text
Hybrid approach: Start with AI to remove text from image quickly, then refine with manual tools if needed.
Maintain Image Quality: Pro Tips for Clean Results#
To master how to remove text from image without losing quality:
- Start with the highest-resolution source available
- Work non-destructively (keep originals, use copies)
- Provide a precise prompt describing the text and the background you want reconstructed (Story321)
- Remove text in multiple passes for large captions—first the bulk, then refine edges
- Match light, shadow, and grain—if the fill looks too clean, add a touch of noise to blend
- Use edge-aware tools (e.g., Photoshop’s Remove Tool) for hard lines near text
- Align directional patterns (wood grain, bricks) by prompting AI to “restore parallel lines” or “continue diagonal pattern”
- Don’t oversoften—preserve detail to avoid a “smudged” look
These principles apply across all methods of how to remove text from image, whether you’re using AI or manual techniques.
Background Reconstruction: How AI Fills the Gap#
When you remove text from image with AI, the system predicts what should exist behind the text by analyzing surrounding pixels, color gradients, edges, patterns, and geometry. To guide reconstruction:
- Be explicit in your prompt about the background (e.g., “extend ocean wave pattern,” “continue brick lines”)
- If geometry matters (horizons, walls, product edges), mention it
- For repeating textures, prompt for “consistent texture continuity”
- For portraits, mention skin tone and lighting continuity
If the result looks off, change the model (nano banana vs. default), or add a short, targeted detail such as “keep natural vignetting” or “match the grain of the original.”
Specific Scenarios: How to Remove Text from Image the Smart Way#
-
Timestamps on lower corners
- Simple background: one AI pass often works
- Busy background: run two passes or test another model
-
Watermarks over patterns
- Be precise: “remove semi-transparent watermark across center; restore marble texture with veins”
- If a faint outline remains, run a second pass focused on the residual area
-
Big captions across gradients (sky, studio backdrops)
- Emphasize “smooth gradient continuity” in the prompt
- Add slight film grain at the end to unify the image
-
Product images (e-commerce)
- After AI removal, zoom to 200% and manually refine edges to maintain crisp product lines
-
Memes and social graphics reused for video thumbnails
- Use AI to wipe text, then retype your own brand-consistent font
-
UI screenshots
- Removing text from UI often requires pixel-perfect edges; AI first, then manual cleanup
These patterns help you systematize how to remove text from image across your content pipeline.
Batch Processing: When You Have Many Images#
If you need to remove text from image at scale:
- Photoshop Actions + Batch
- Record a sequence (select text area > content-aware or generative fill) and automate folder processing
- Scripting
- Use Python + OpenCV or InvokeAI/ComfyUI for scripted inpainting pipelines
- Story321 workflow
- While primarily single-image focused, you can iterate quickly and keep all versions in My Images. For volume, standardize prompts and model choices for consistent results
A practical hybrid: Run AI in batches and spot-check results. For outliers, do a manual follow-up.
Legal and Ethical Guidelines#
A critical part of how to remove text from image is understanding what’s allowed.
- Do: Remove text you own or are licensed to edit (your own watermarks, timestamps, client-owned images, brand graphics)
- Do: Use text removal to fix typos on your assets, clean mockups, or restore personal photos
- Don’t: Remove watermarks from images you don’t own or don’t have permission to modify
- Don’t: Misrepresent or pass off someone else’s property as your own
When in doubt, get written permission. Ethical use protects you and your brand.
Troubleshooting: Fixing Common Issues#
If results look imperfect when you remove text from image, try these:
-
Blurry or smudged fills
- Use a more detailed prompt; request “sharp texture continuity”
- Re-run with a different model (e.g., nano banana)
- Add slight noise/grain to blend
-
Repeating patterns look misaligned
- Prompt for “continue brick lines horizontally” or “align wood grain direction”
- Do a second pass focusing on misaligned areas
-
Edges look artificial
- Zoom in and refine with a heal/clone tool in a desktop editor
- Avoid over-smoothing; preserve micro-contrast
-
Color banding in gradients
- Export in PNG or high-quality JPG
- Add minimal dithering/noise to even out the gradient
-
Ghosting of the original text
- Increase the affected area slightly and re-run
- Specify “remove all remnants of text” in the prompt
-
File too compressed (JPEG artifacts)
- Upscale lightly before removal or export as PNG after editing
These adjustments will noticeably improve your success rate when learning how to remove text from image with AI.
Tool Roundup: Best Options for Removing Text from Images#
Here’s a curated, fast reference of reliable tools to remove text from image. Choose based on your platform, budget, and complexity.
-
Story321 (Web)
- Strength: AI prompt-based edits; quick, beginner-friendly, iterative versions via My Images
- Formats: JPG, PNG, WebP
- Best for: Fast, natural inpainting directly in the browser
-
Adobe Photoshop (Desktop)
- Strength: Generative Fill, Remove Tool, Content-Aware Fill, precision layers, batch actions
- Formats: Broadest support
- Best for: Complex scenes, precise finishing
-
Photopea (Web)
- Strength: Free, Photoshop-like tools in browser
- Formats: PSD, JPG, PNG, WebP
- Best for: Quick manual cleanups
-
TouchRetouch (Mobile)
- Strength: Purpose-built object/text removal with clean healing
- Best for: On-the-go fixes
-
Snapseed (Mobile)
- Strength: Free, Healing tool for small text
- Best for: Simple backgrounds
-
GIMP + Resynthesizer (Desktop, Free)
- Strength: Open-source content-aware fill
- Best for: Budget workflows
-
Cleanup.pictures / Teorex Inpaint (Web/Desktop)
- Strength: Minimal UI, paint-and-remove
- Best for: Simple, fast edits
If you’re prioritizing speed, consistency, and minimal learning curve for how to remove text from image, start with Story321. For fine-grained control, add a desktop editor to your stack.
Workflow Example: Combine AI and Manual for Studio-Grade Results#
- Step 1: Upload to Story321 and prompt: “Remove grey watermark across center; restore concrete wall with subtle texture and lighting”
- Step 2: Download the AI result
- Step 3: Open in Photoshop; use Remove Tool on tiny artifacts
- Step 4: Add a 1–2% noise layer to unify texture
- Step 5: Export as high-quality JPG or PNG
This hybrid process is efficient, repeatable, and produces excellent results for how to remove text from image across many content types.
FAQ: How to Remove Text from Image#
Q1: What’s the fastest way to remove text from image?
A: Use an AI inpainting tool like Story321. Upload, describe the text to remove in the prompt, click Edit Image, and download your result.
Q2: Can I remove watermarks legally?
A: Only if you own the image or have explicit permission. Removing watermarks from copyrighted images you don’t own is typically prohibited.
Q3: How do I remove text from image without losing quality?
A: Use high-res sources, prompt AI to reconstruct background details, and avoid heavy compression. If needed, refine with manual tools.
Q4: What if the AI leaves artifacts or faint text?
A: Re-run with a refined prompt, slightly expand the affected area, switch models (e.g., nano banana), or finish with a heal/clone tool.
Q5: Does Story321 support batch removal?
A: It’s optimized for single-image edits with rapid iteration. For large-scale batches, combine AI with desktop actions or scripts.
Q6: Which file formats should I use?
A: Upload JPG/PNG/WebP for web tools like Story321. Export final assets as PNG or high-quality JPG. Convert HEIC to JPG/PNG first.
Q7: How to remove text from image on iPhone or Android?
A: Use TouchRetouch or Snapseed for quick edits, or open Story321 in your mobile browser for AI-powered results.
Q8: Can AI reconstruct complex backgrounds like bricks or fabric?
A: Yes, often convincingly. Be explicit in your prompt about texture direction, pattern continuity, and lighting.
Q9: What’s the best app for beginners?
A: For how to remove text from image with minimal learning curve, start with Story321 or Cleanup.pictures. For more control, learn Photoshop’s Remove Tool.
Q10: How can I avoid blurry results?
A: Use high-resolution inputs, keep edits minimal, re-run with more context in your prompt, and add light noise to blend.
Final Call to Action#
Now that you know how to remove text from image with AI, put it into practice:
- Try Story321’s Image-to-Image editor: https://story321.com/image/image-to-image/
- Upload, describe the text to remove, and click Edit Image
- Test an alternate model like nano banana if needed
- Download and share your clean, ready-to-use image
With this workflow, you’ll remove text from image faster, keep quality high, and stay focused on what you do best—creating.


