Image to Image AI Editor
Upload a source image, describe the change you need, and choose an AI editing model with controls that fit the job.
Save Your Creations
Login to save, manage and share all your generated images
Community Showcase
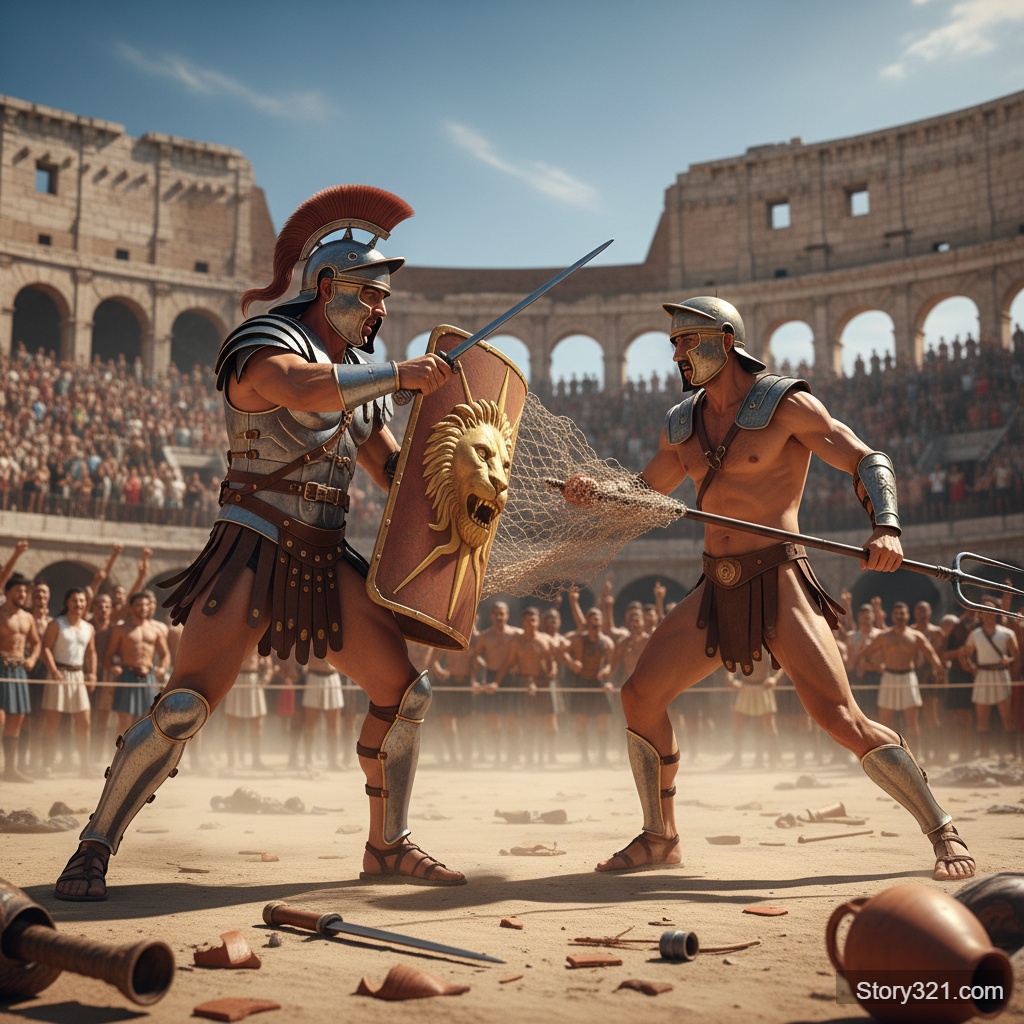
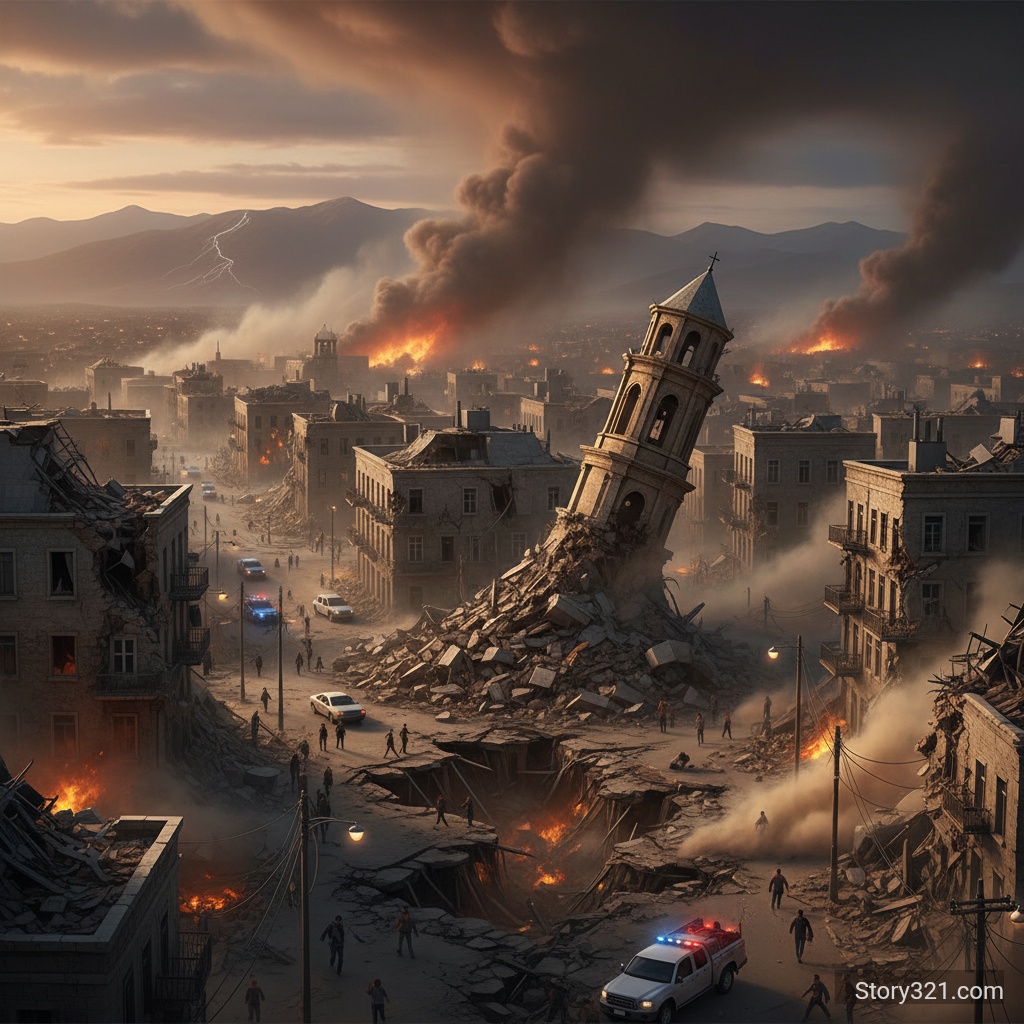
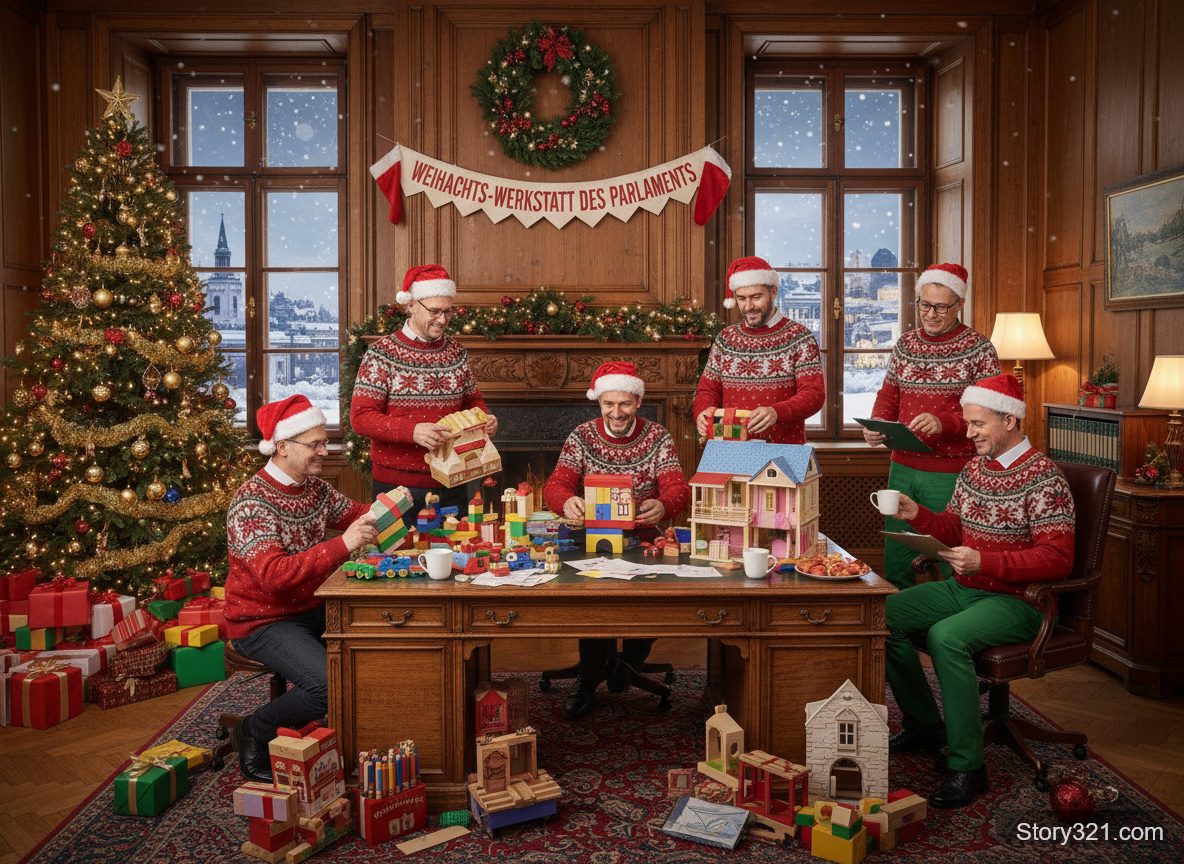
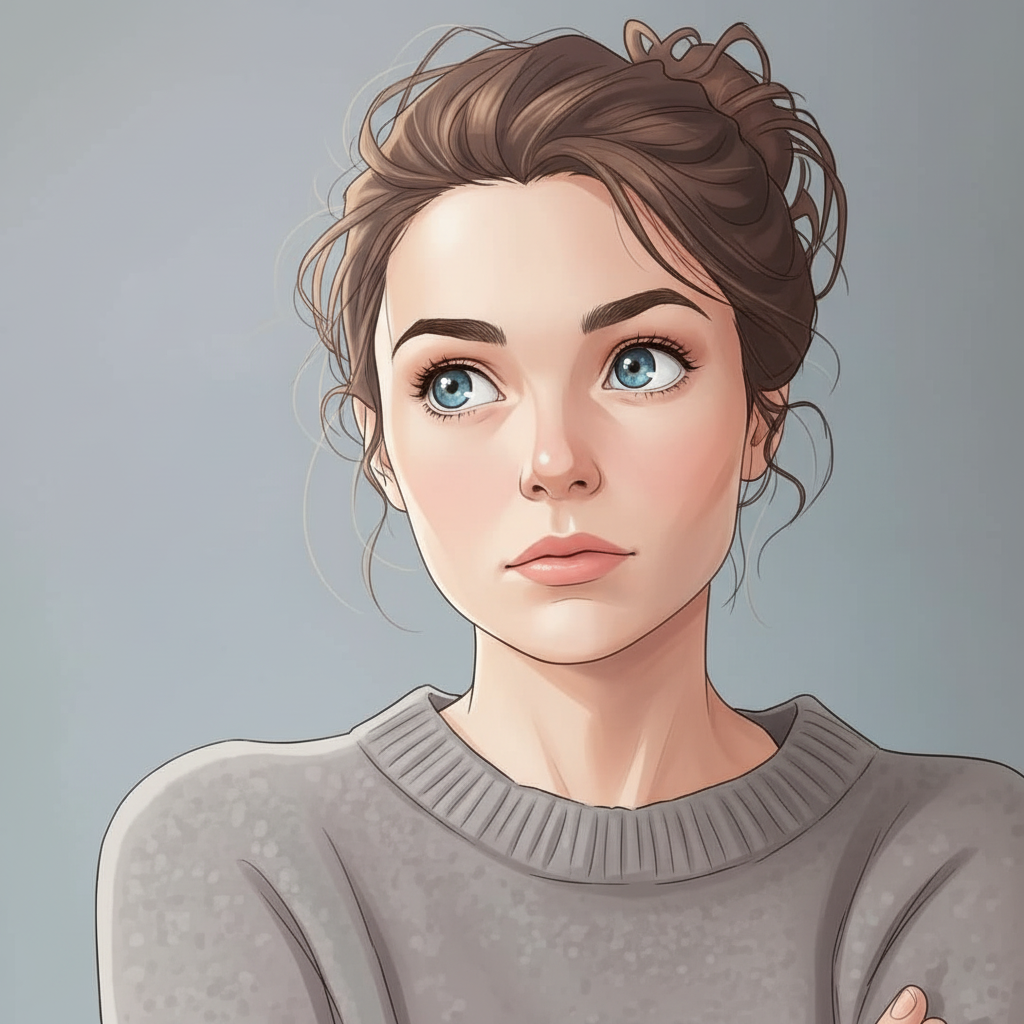
What is image-to-image AI editing?
Image-to-image editing starts with your source image and a written instruction. Use it when you need to change a background, color, lighting, composition, or visual style while keeping the source image as the reference. Results are generative, so review the whole image before using it.
Choose an image-to-image model by workflow
These are Story321 workflow starting points. Available settings and credits are shown in the form before you generate.
| Model | Useful starting point | Story321 controls |
|---|---|---|
| Wan 2.5 | Prompt-led edits with 480p, 720p, or 1080p output | Auto, square, portrait, and landscape framing |
| Nano Banana | Fast visual exploration from one source image | Auto framing plus a broad aspect-ratio list |
| Nano Banana Pro | Detailed assets that need a chosen resolution | 1K, 2K, or 4K; aspect ratio and output format |
| FLUX.2 [flash] | Prompt-directed image revisions | Square, 4:3, 3:4, 16:9, or 9:16 framing |
| GPT Image 2 | Focused edits and controlled alternatives | One source image, preset framing, quality, and one to eight variations |
| Grok Imagine Image 2 | Natural-language revisions from one source image | Auto or selected ratio, 1K or 2K, JPEG/PNG/WebP, Low or Medium quality |
A practical image editing workflow
Start from a source image
Use one uploaded image as the visual reference for the edit you want to explore.
Describe a focused change
Name what should change first, then state the subject, framing, and details that should remain.
Choose model-specific controls
Resolution, aspect ratio, format, quality, and variation count depend on the selected model.
Review every result
An instruction can affect nearby objects, text, faces, or proportions. Inspect the full image before publishing.
How to edit an image with AI
- 1
Upload an image
Choose the source image you have permission to edit. Story321 accepts common image uploads up to the form limit.
- 2
Choose a model
Pick a workflow starting point, then confirm the controls exposed by that model in the form.
- 3
Write the edit instruction
State the requested change, then list the visual details to preserve. Change one variable at a time when comparing results.
- 4
Generate and inspect
Review the edited area and the surrounding image. Revise the instruction if a detail, proportion, or composition needs another pass.
Common image-to-image editing tasks
Product-image variations
Test a different backdrop, color direction, prop, or seasonal setting while retaining the source product.
Campaign adaptation
Explore a new crop, mood, or visual direction for an existing campaign asset.
Concept cleanup
Try removing a distraction or changing a setting before committing to a final production retouch.
Creative restyling
Use an existing image as a reference for a new palette, material direction, or illustration treatment.
Presentation drafts
Create visual directions for a brief, slide, or review without rebuilding the concept from scratch.
Aspect-ratio exploration
Test a source image in a frame that better suits its intended placement, then verify the result in context.
What to check before using an edited image
- Generative edits are not pixel-perfect retouching; inspect the whole image, not only the requested area.
- Do not rely on an edit to preserve logos, readable text, people, or fine product details without review.
- Story321 exposes a subset of each provider model's capabilities; use the live form as the source of truth for available controls.
- Only upload source images you are allowed to use and review the result for your own legal, brand, and publishing requirements.
Explore image editing models
Grok Imagine Image 2
Edit one source image with 1K or 2K output and Low or Medium quality.
Open Grok Imagine Image 2GPT Image 2 Editor
Use a single source image with quality and variation controls.
Open GPT Image 2Nano Banana Pro
Choose 1K, 2K, or 4K output for a detailed editing workflow.
Open Nano Banana ProText to Image
Start from a written visual brief when you do not need a source image.
Open Text to Image
Frequently Asked Questions
Which image-to-image model should I choose?
Choose by the controls you need. Wan 2.5 exposes 480p through 1080p; Nano Banana Pro exposes 1K through 4K; Grok Imagine Image 2 exposes 1K or 2K with Low or Medium quality; GPT Image 2 exposes quality and up to eight variations. The form is the current source of truth.
Can AI editing preserve every part of my image?
No. Treat the output as a generative edit and inspect the entire image, especially text, faces, logos, product labels, and small details.
How do credits work?
Credits depend on the selected model and, for some models, the selected settings. Story321 shows the applicable amount before generation.
How can I write a better edit prompt?
Name the intended change first, identify what must remain, and include only details that affect the final image. Review one result before changing several instructions at once.
Image-to-image credits
The selected model and settings determine the displayed credit total before you generate.
- Generation cost
- Varies by selected model and settings
Story321 image editing controls
| Input | An uploaded source image and an edit instruction |
|---|---|
| Output | An AI-generated image from the selected model |
| Controls | Model-specific resolution, aspect ratio, quality, format, and variation controls |
| Upload | Common image formats accepted by the upload flow; confirm the current form limit |
Model documentation
GPT Image 2 model documentation“GPT Image 2 supports image generation and editing.”
Gemini image generation guide“Nano Banana supports image generation and editing with text and images.”
Wan image model guide“Wan2.5-i2i-preview supports image editing.”
xAI image editing guide“Edit images with xAI's Grok Imagine 2.0 model.”
Start an image edit
Upload a source image, choose a model, and write the specific change you want to test.
Open the image editor