GPT Image 1.5 - Text to Image
Generate high-quality images from text using OpenAI's GPT Image 1.5 model. Choose from multiple quality levels and create images with transparent backgrounds.
Save Your Creations
Login to save, manage and share all your generated images
Community Showcase
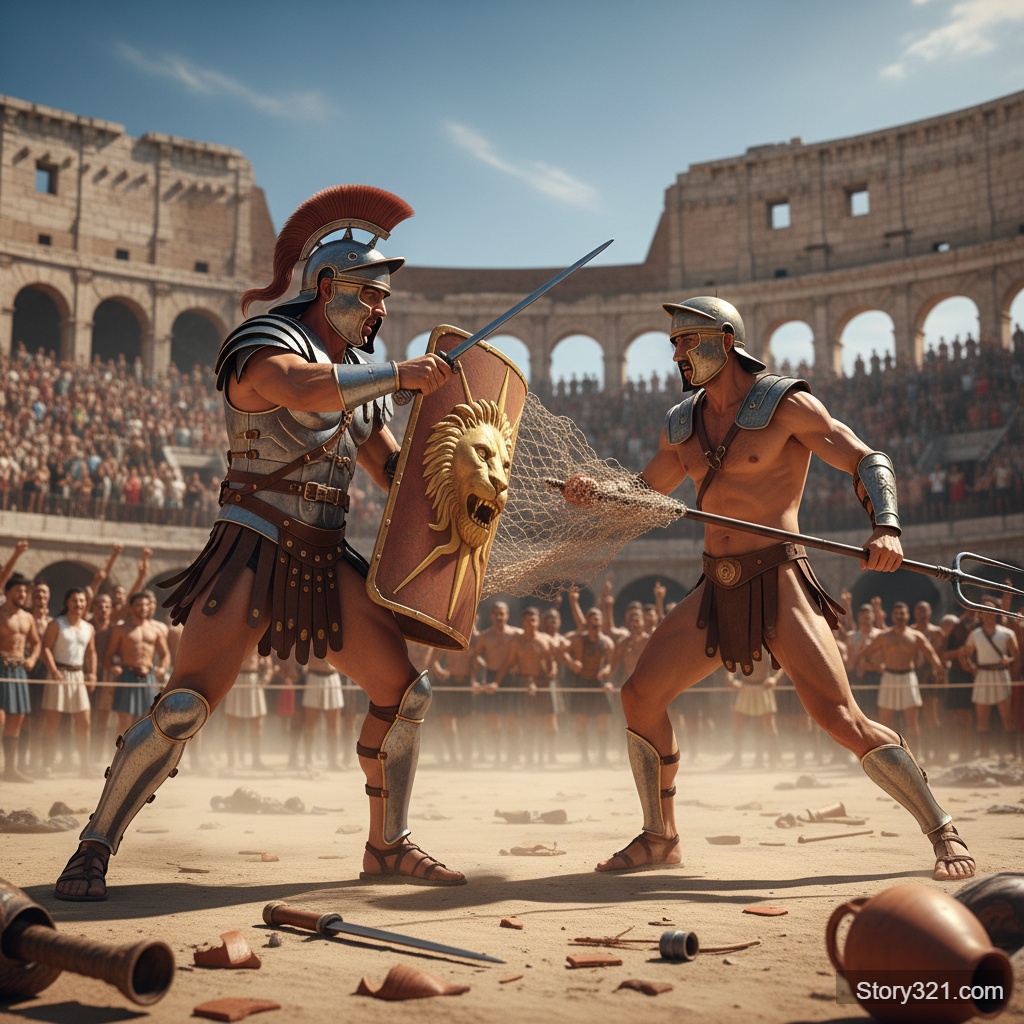
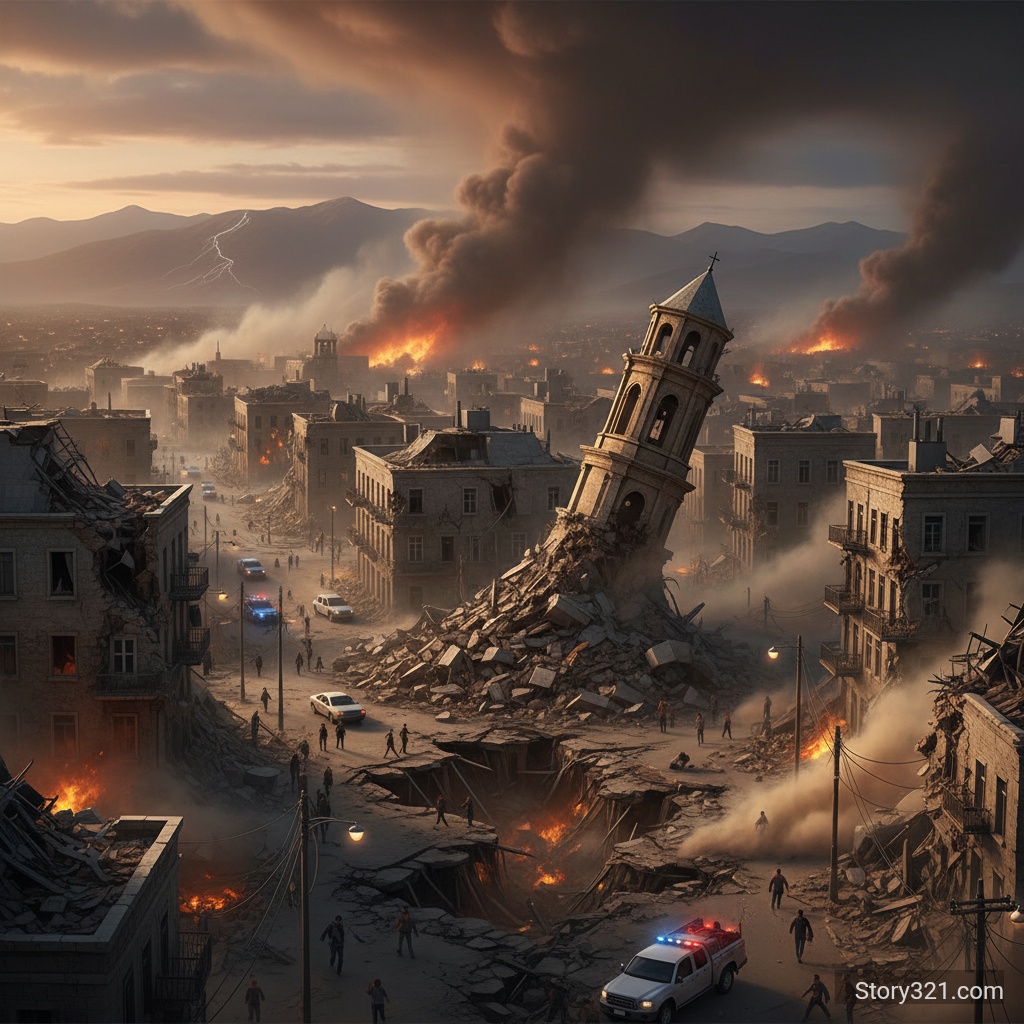
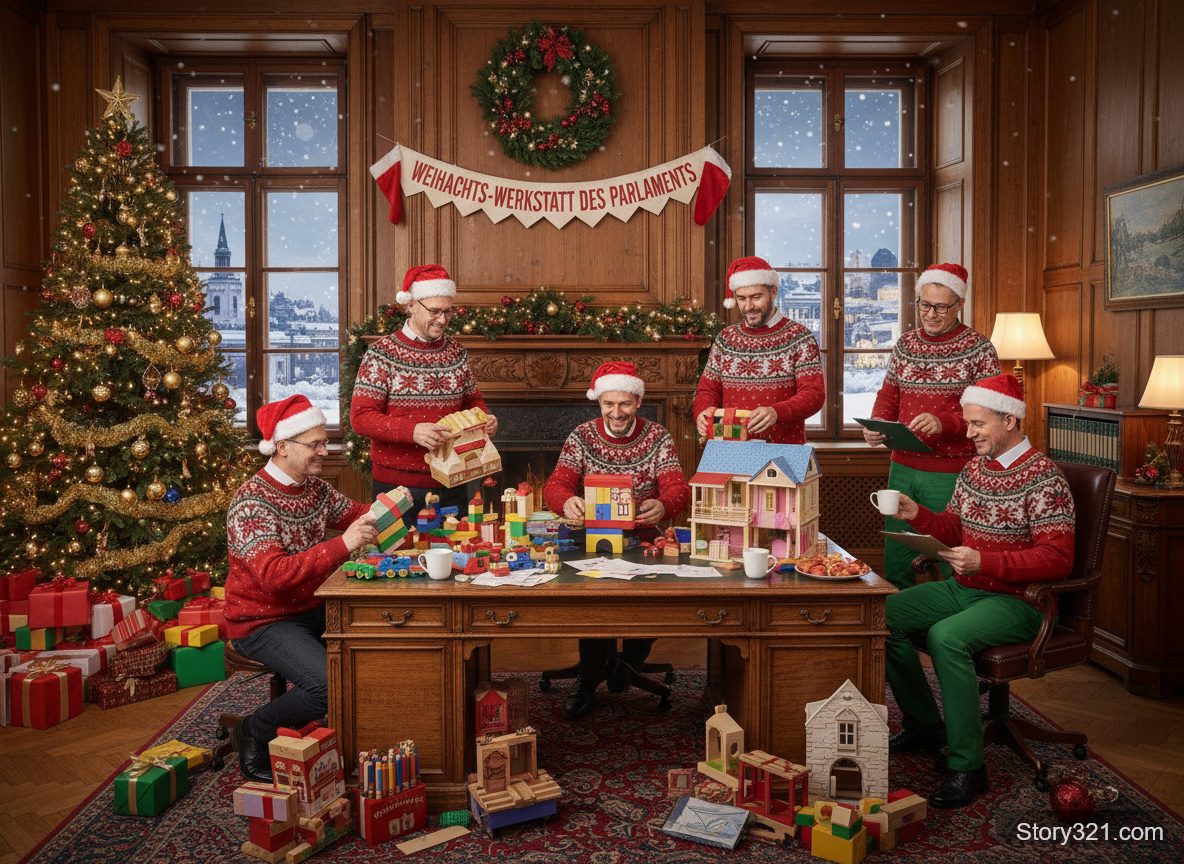
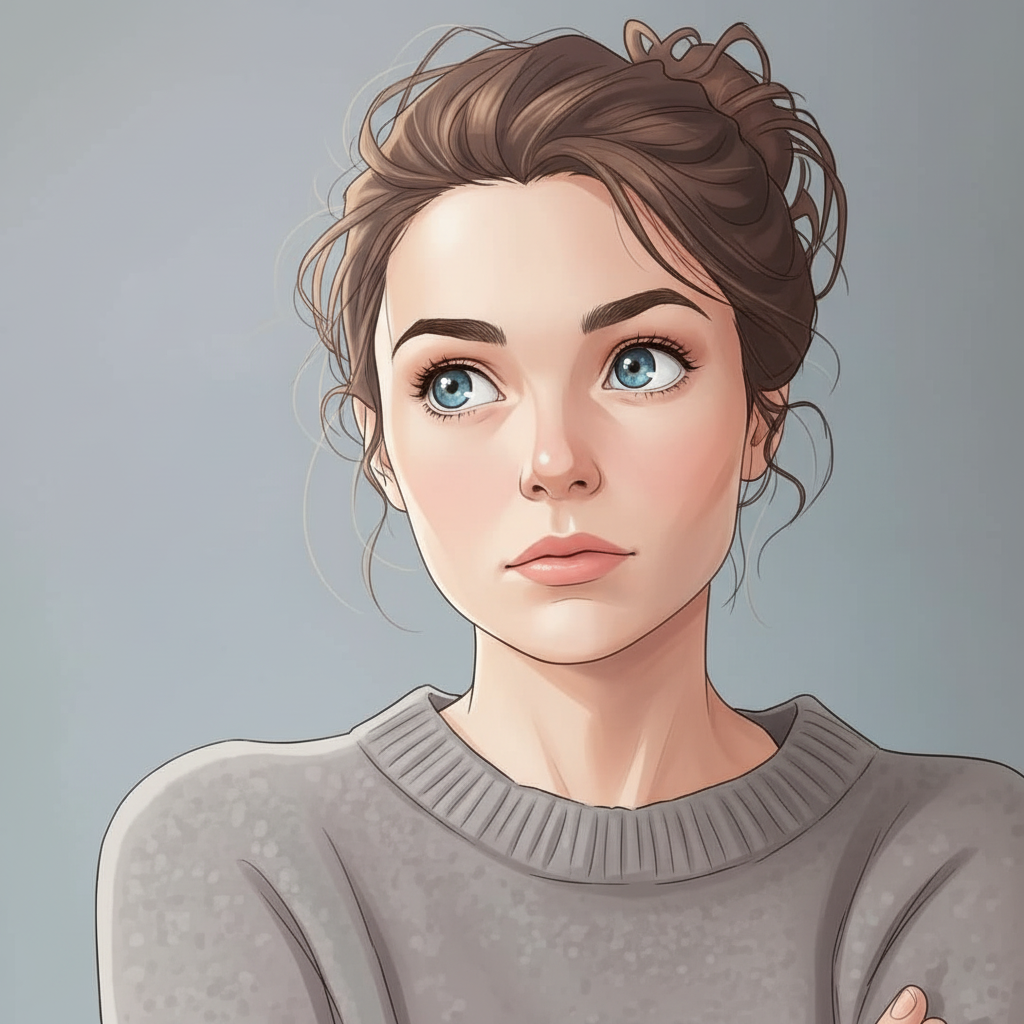
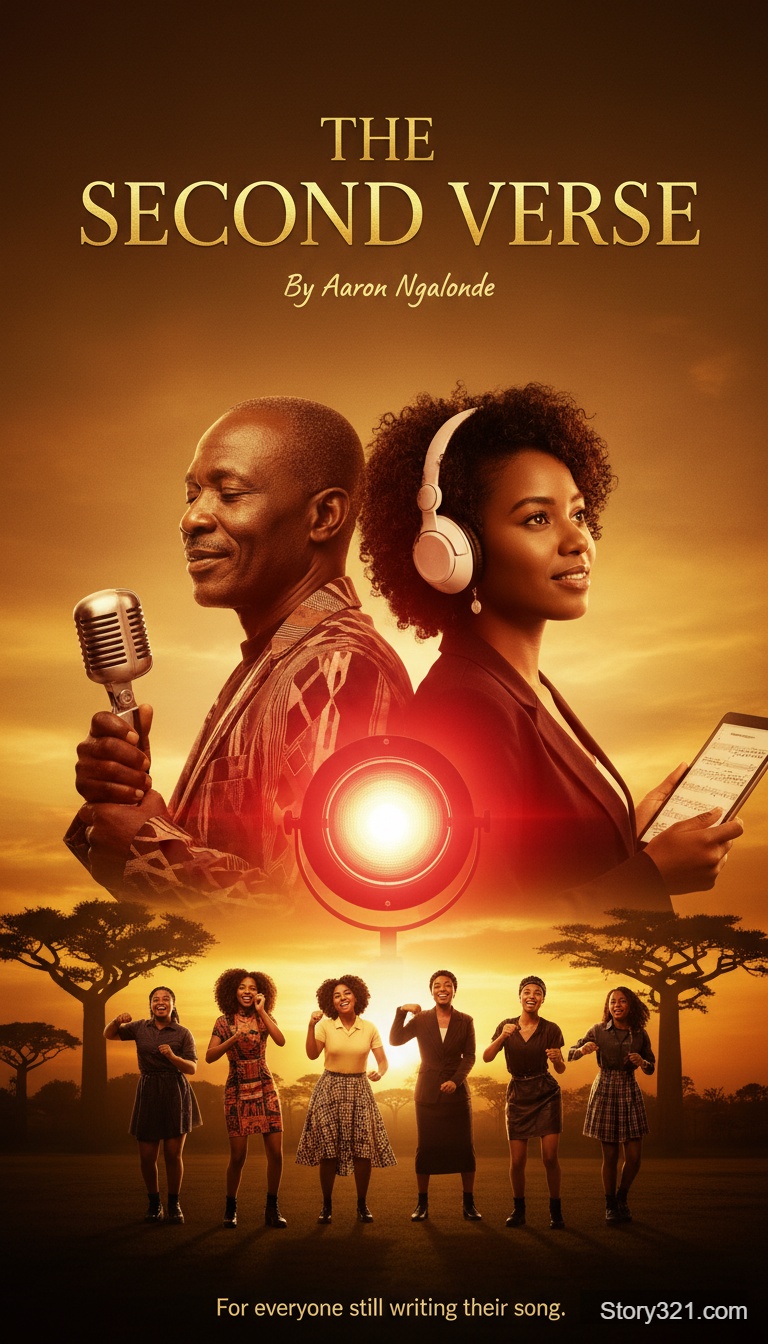
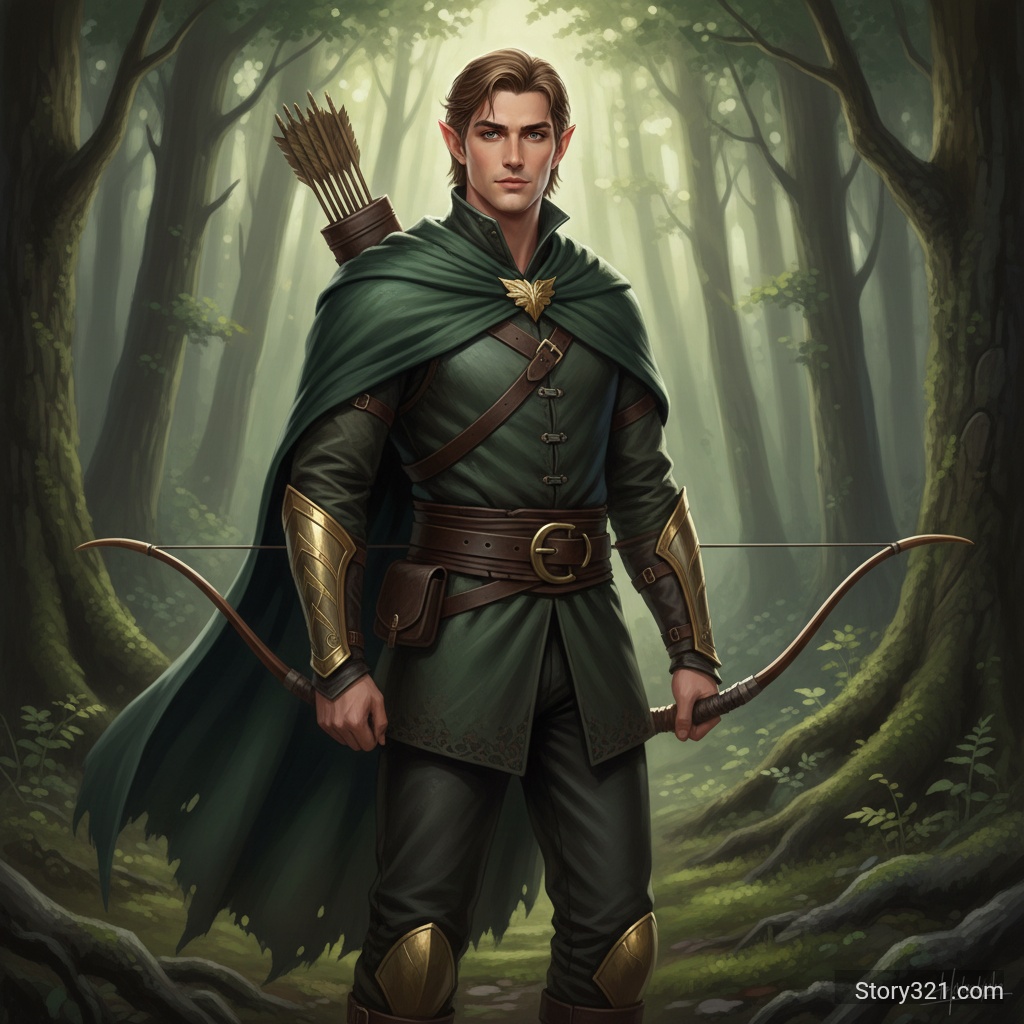
What can GPT Image 1.5 - Text to Image help you create?
GPT Image 1.5 - Text to Image turns a written brief into an image draft you can inspect and refine. State the main subject first, then add the setting, composition, visual style, lighting, and final placement. Pick only settings that support the decision you are testing, and revise one clear instruction after each result.
What Can GPT Image 1.5 Do?
Flexible Quality Options
Choose from three quality levels - Low (6 credits), Medium (10 credits), or High (40 credits) - to balance between cost and image quality.
Transparent Background Support
Generate images with transparent, opaque, or automatic backgrounds, perfect for logos, icons, and design elements.
Multiple Image Sizes
Support for square (1024x1024), landscape (1536x1024), and portrait (1024x1536) orientations to fit your needs.
OpenAI Technology
Powered by OpenAI's GPT Image 1.5 model, delivering consistent and high-quality image generation results.
How to get more useful GPT Image 1.5 - Text to Image results
Write for the decision you need to make
Use GPT Image 1.5 - Text to Image to make a visual decision concrete. Name the audience, focal subject, required objects, and intended destination before adding decorative style. This gives every generation a clear purpose and makes feedback easier to apply in the next prompt.
Keep iterations comparable
Change one major variable at a time: framing, light, palette, subject detail, or style. A stable prompt makes it easier to see what caused a useful result. Save the wording that worked, then build a new version from that controlled baseline.
Review important output details
AI images can introduce unexpected text, visual inconsistencies, or factual errors. Check labels, spelling, product details, accessibility needs, and brand requirements before using any output in a customer-facing asset or a published document.
How to Use GPT Image 1.5
- 1
Write Your Prompt
Describe the image you want to create with detailed instructions.
- 2
Choose Quality & Settings
Select your preferred quality level, image size, and background option.
- 3
Generate
Click Generate and receive your image. Higher quality takes slightly longer but produces better results.
Practical GPT Image 1.5 - Text to Image use cases
Creative direction
Turn a campaign, editorial, presentation, or product brief into a visual reference that a team can discuss. Use the result to agree on mood, framing, and hierarchy before committing to a detailed production process.
Concept comparison
Generate controlled alternatives for a single idea: vary composition, atmosphere, setting, or color direction while keeping the subject stable. Compare the options against the channel and audience instead of choosing only by visual novelty.
Prompt-led production planning
Use a generated image as a planning aid for a shoot, illustration, design handoff, or storyboard. Treat it as a draft; validate claims, typography, licensed assets, and final brand elements in the production workflow.
What to review before using an image
- Generated images can miss spelling, numbers, proportions, or small details. Review the result before sharing it publicly.
- Use only prompts, references, and output rights that fit your intended use. Check your organization’s policies and the applicable model terms.
- Treat a generated image as a creative draft when accuracy, accessibility, legal claims, or brand consistency matter.
Related AI tools
Image to Image
Edit an existing image with a written instruction.
Open Image to ImageAI Image Tools
Browse Story321 image workflows.
Browse image toolsPricing
Review Story321 credits before generating.
View pricing
Frequently Asked Questions
What image sizes does GPT Image 1.5 support?
GPT Image 1.5 supports three sizes: 1024x1024 (square), 1536x1024 (landscape), and 1024x1536 (portrait).
What are the quality options and their costs?
There are three quality levels: Low quality costs 6 credits per image, Medium quality costs 10 credits, and High quality costs 40 credits. Higher quality produces more detailed and refined results.
Can I generate images with transparent backgrounds?
Yes! GPT Image 1.5 supports transparent backgrounds. You can choose between Auto (automatic decision), Transparent (clear background), or Opaque (solid background).
When should I use High quality vs Low quality?
Use High quality for final production work, professional projects, and when detail matters most. Use Low or Medium quality for quick iterations, testing ideas, or when budget is a concern.
What output format does GPT Image 1.5 use?
All images are generated in PNG format, which preserves quality and supports transparency when needed.
Pricing
Flexible pricing based on quality
- Low Quality
- 6 credits
- Medium Quality
- 10 credits
- High Quality
- 40 credits (recommended)
Technical Specifications
| Output format | PNG |
|---|---|
| Image sizes | 1024x1024, 1536x1024, 1024x1536 |
| Quality levels | Low, Medium, High |
| Background options | Auto, Transparent, Opaque |
| Cost range | 6-40 credits per image |
Official sources
Read OpenAI documentation“OpenAI documents its GPT Image model family and image-generation capabilities.”
Try GPT Image 1.5 - Text to Image
Start with a focused brief, choose the settings that fit the output, and refine the result with one clear change at a time.
Generate an image